Project1
Final Out Put Link
Break Down Video
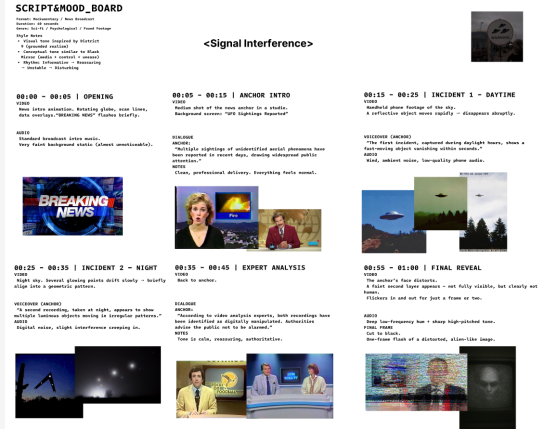
Concept and Script
The project was inspired by UFO-related files released by the White House. Their official source contrasted with how difficult the information was to believe, which led me to consider how people respond when institutional credibility and the information itself feel disconnected: do they trust the official account, or dismiss it as a conspiracy theory?
I used mock UFO footage, documentary language, television news, and VHS recordings as the main visual elements. In the story, a news presenter reports on viral UFO sightings and explains that the clips are fabricated with CG. At the end, the old television signal begins to fail. During the flicker, an alien silhouette briefly overlaps the presenter, making the boundary between truth and fabrication uncertain again.
02 UFO Modeling and Animation
I created two UFO designs in Blender. The first uses a classic flying-saucer silhouette, with a detailed underside, materials, and lighting developed for the final render. The second uses a triangular structure built from layered geometry and internal details, giving it a more constructed appearance.
For the animation, I used Blender keyframes and modifiers to create constrained rotation and translation, then adjusted the motion timing for the shots.
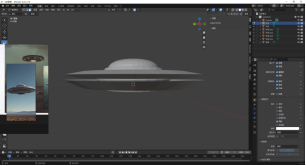
Disc UFO base model
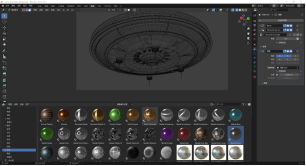
Underside structure and material detail
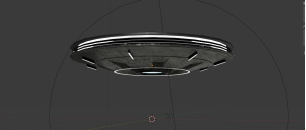
Disc UFO lighting and texture test
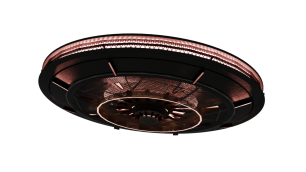
Disc UFO render for export
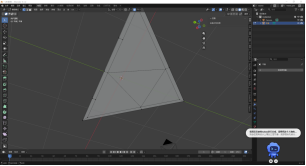
Triangular UFO geometry blockout
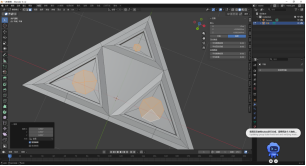
Triangular structure and internal detail
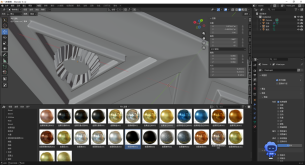
Refined triangular UFO model
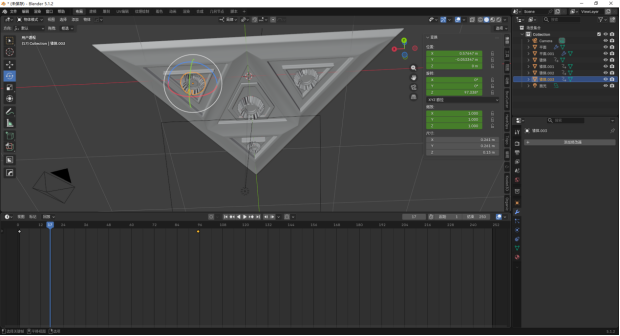
Keyframe and constrained animation setup
03 News Studio Environment
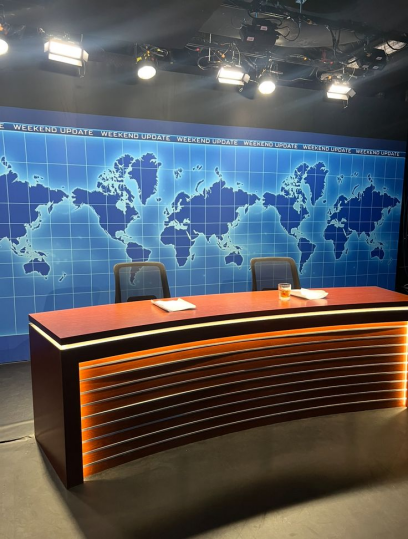
Television news studio reference
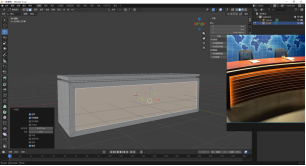
News desk base model
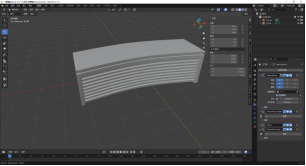
News desk front structure refinement
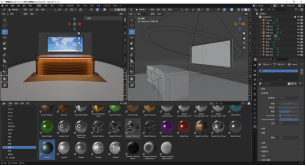
Material and set layout test
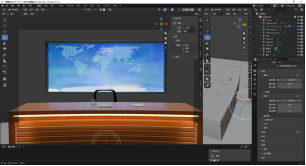
Complete news studio set build
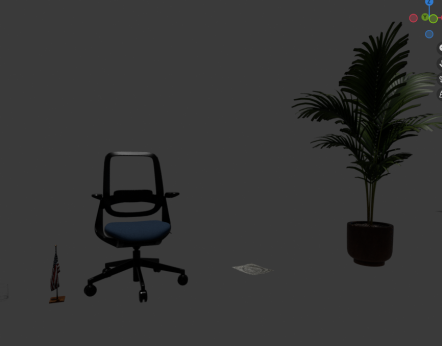
assets used in the scene
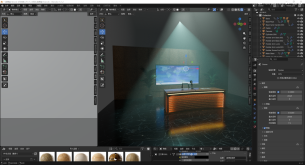
Volumetric fog and atmosphere preview
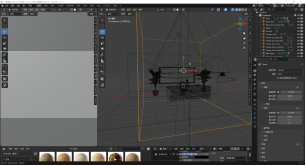
Lighting and camera setup
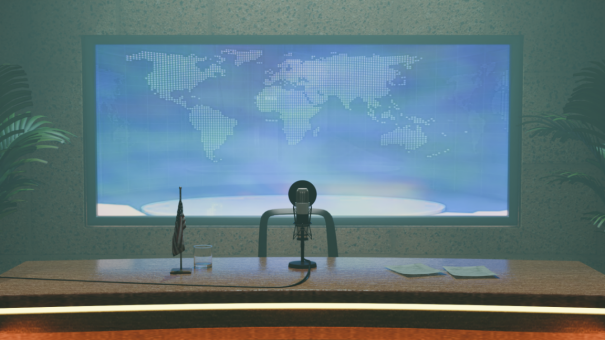
Rendered news studio plate
04 Green Screen and News Composite
I filmed the presenter against a green screen, then completed the key, shadow transparency adjustment, and studio composite in Nuke. To preserve the foreground relationship, I used roto to isolate the microphone so that it correctly occludes the presenter.
The image treatment was based on the appearance of vintage television. I graded the composite, matched the footage grain, and organized the key, foreground, background, and image treatment in the Nuke node graph.
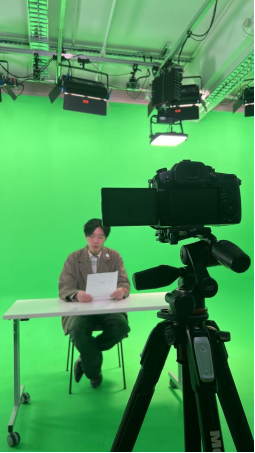
Green-screen presenter shoot
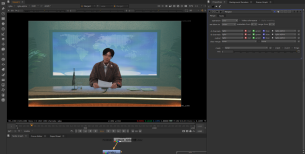
Nuke key and studio composite
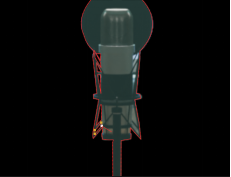
Foreground microphone roto
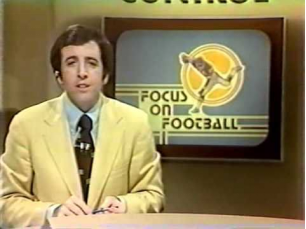
Vintage television display reference
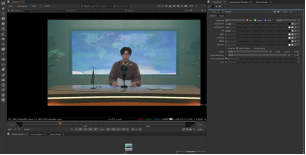
Color grade and grain matching
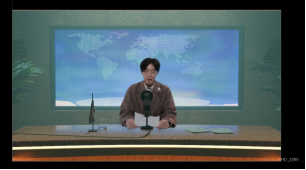
Presenter and studio composite result
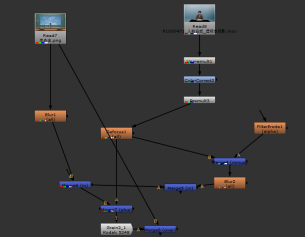
composite node graph
05 Daytime UFO Sighting
The first sighting uses live-action daytime city footage. I composited the UFO in Nuke and adjusted its color and alpha so that the CG element matched the sky and the filmed plate.
To simulate handheld footage, I used Transform expressions to generate layered translation and rotation noise, with the image scaled between 1.08 and 1.12 to prevent exposed frame edges during the shake. I then added manual keyframes so the camera overshoots the UFO, corrects in the opposite direction, nearly locks on, and continues with residual shake and delayed reactions.
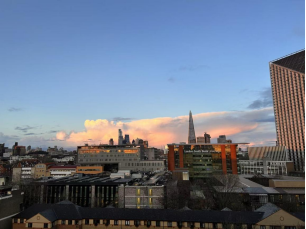
Daytime city plate
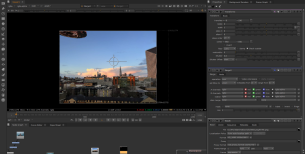
Initial UFO composite
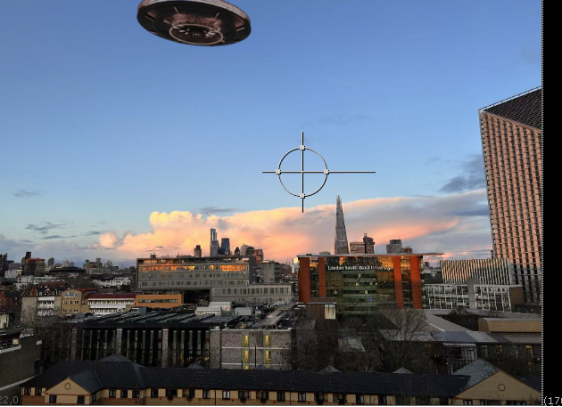
Composite after color and alpha adjustment
| Channel | Expression or Value |
| Translate X | noise(frame*0.075, 0.37, 1.1)*10 + noise(frame*0.55, 2.3, 0.4)*2.2 |
| Translate Y | noise(frame*0.065, 4.1, 0.2)*7 + noise(frame*0.62, 1.7, 3.2)*1.8 |
| Rotate | noise(frame*0.055, 2.4, 5.3)*0.30 + noise(frame*0.43, 6.1, 1.9)*0.06 |
| Scale | 1.08 to 1.12 |
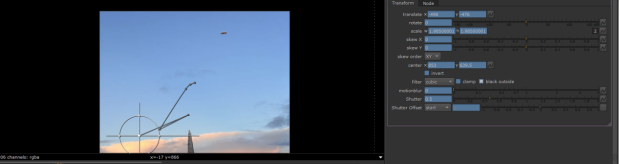
Transform expressions and keyframe setup
06 Nighttime Sighting and News Insert
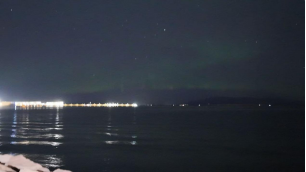
Nighttime waterfront plate
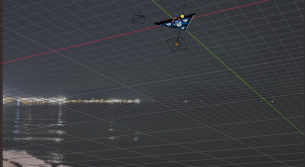
UFO animation scene setup
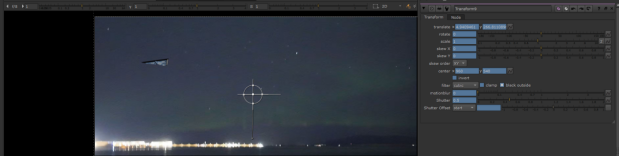
Night composite and grain matching
07 UFO news insert animation
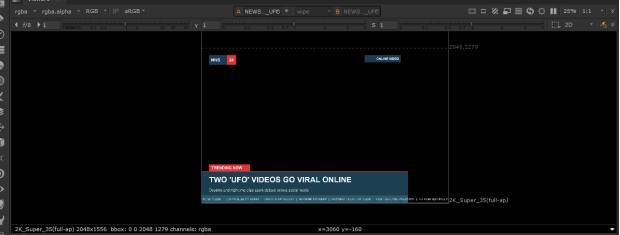
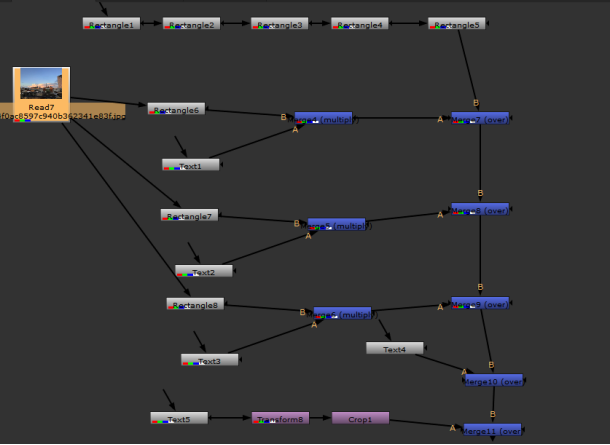
Nighttime sighting node graph
07 Alien Reveal and VHS Finish。
I created the alien afterimage in Photoshop and controlled its flicker in Nuke, allowing the silhouette to briefly overlap the presenter when the television signal fails. This moment returns to the script’s uncertainty about what information can be trusted.
In the editing software, I added projector jitter, retro flicker, pixel texture, diagonal blur, and strong sharpening to give the final news footage the appearance of VHS tape and an aging television display.
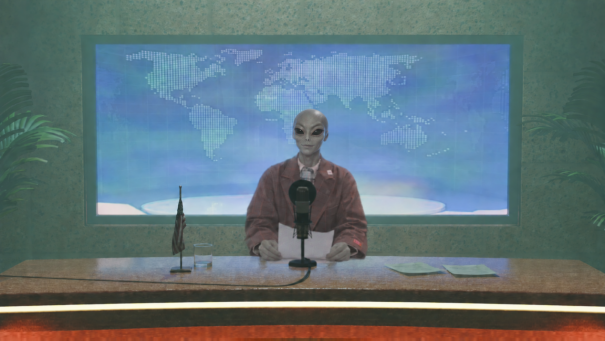
Presenter and alien afterimage composite
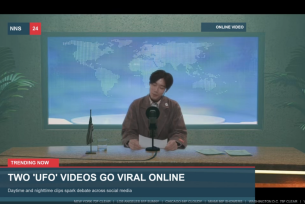
Presenter and alien afterimage composite
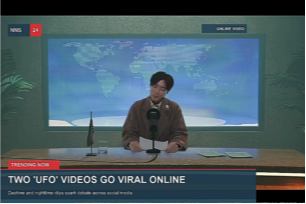
Final VHS news frame
Project2
Final Out Put Link
Break Down Video Link
Collaboration Notes
The script revisions were developed with LEX. Remey further refined the final character concept, and Remey and I modeled the creature together in ZBrush. May and I collaborated on the green frosted-glass material for the bus.
01 Script Development
I developed the first script concept around smoking in public spaces. Set at a bus station, the story uses dark humor and exaggerated horror: a passenger who smokes and affects others is attacked by a creature that inhabits the station. The scene is intended as a warning about smoking and second-hand smoke in shared spaces.
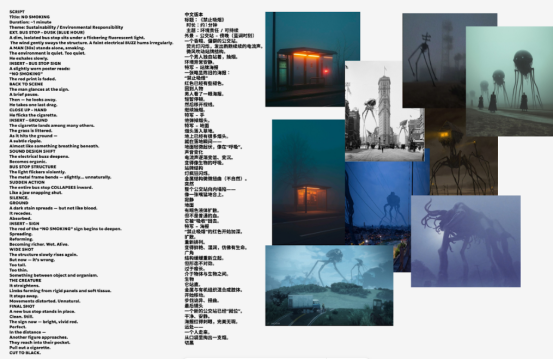
First script draft and mood references
I then revised the script with LEX. We added a scare in which the creature opens a station panel to draw the character’s attention away before appearing beside them. After the attack, a strange poster changes into an image of the victim, the bus never arrives, and another passer-by suggests that the cycle is about to begin again. The creature also disguises itself as a passer-by, lights the smoker’s cigarette, and coughs from the smoke, completing the story’s cycle around the harm of public smoking.
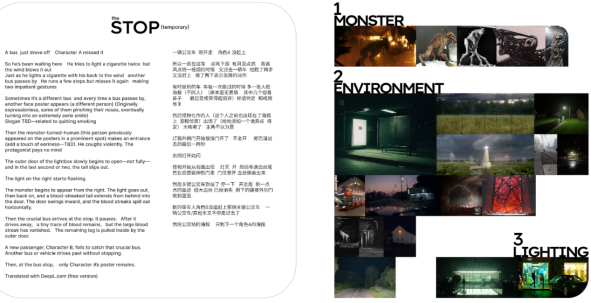
Revised script structure and visual direction
02 Monster Concept Development
I combined ZBrush and Photoshop during the creature’s early visual development, focusing on its silhouette, body proportions, and unsettling biological features. After several shape explorations, Remey further refined the direction and produced the final character concept.
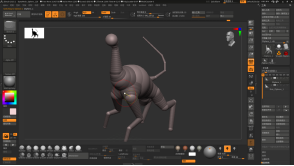
Early body structure study
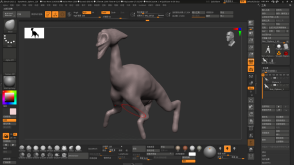
Silhouette and proportion refinement
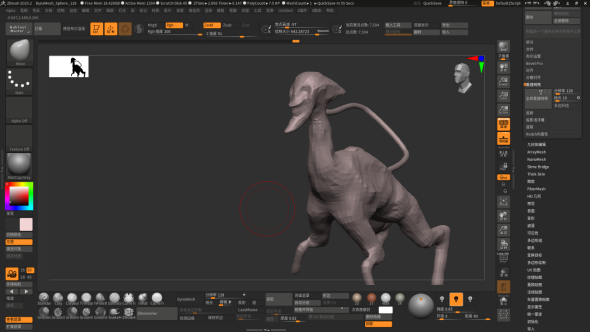
Pose and limb proportion test
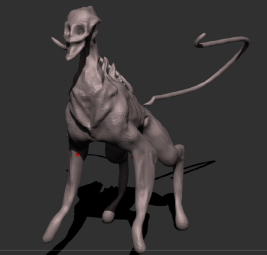
Refined creature concept
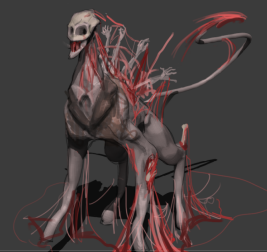
character design direction
03 Monster Modeling
Remey and I modeled the creature together in ZBrush. We began with the overall body proportions, then refined the torso, head, back, tail, and claws. The spikes and elongated limbs were integrated into a complete high-detail sculpt for the later texturing and animation stages.
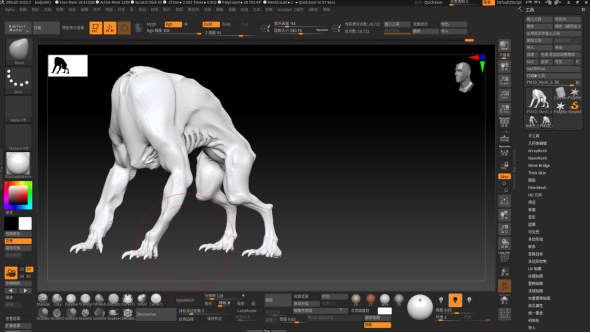
Remey part: Base model and body proportions
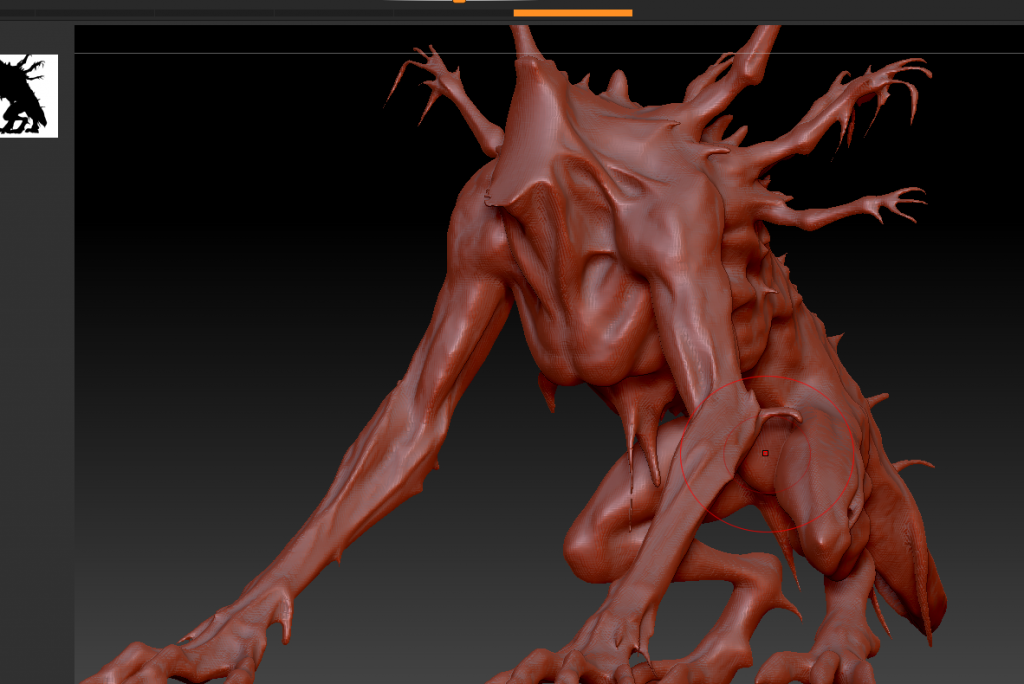
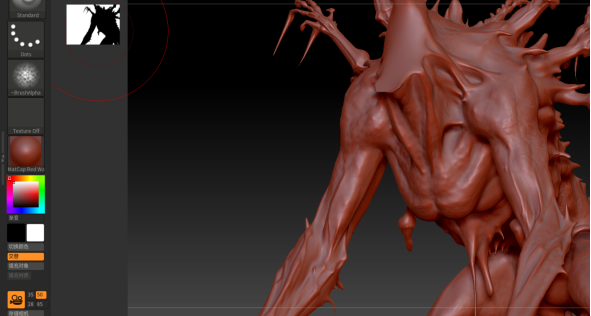
My part: Torso and surface detail sculpting
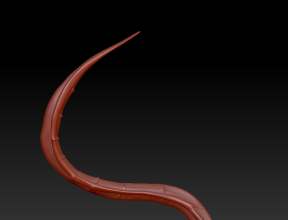
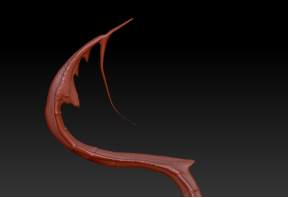
Tail refinement
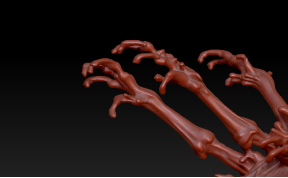
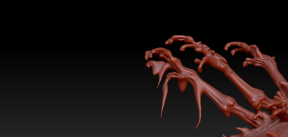
Hand and claw detailing
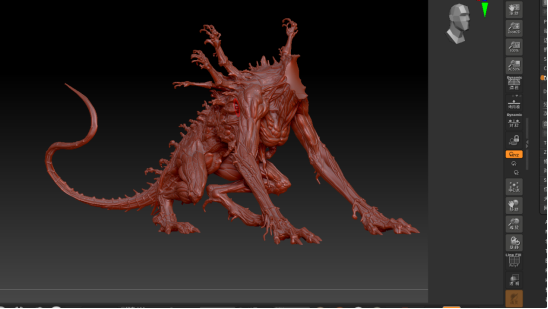
Complete high-detail creature sculpt
04 Creature Texturing
I created the creature textures in Substance Painter. The material work focused on skin color, value variation, and organic surface detail. Close-up checks on the hands, torso, head, and back helped keep the material treatment consistent across the model.
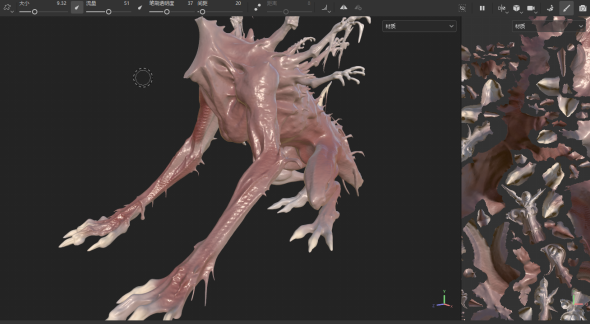
Overall material preview in Substance Painter
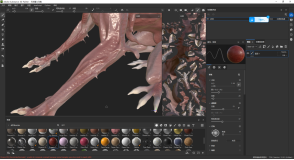
Leg material detail
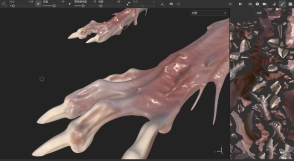
Hand and claw material detail
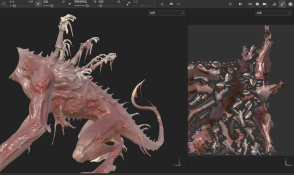
Head and torso material result
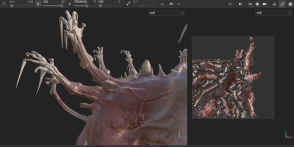
Back structure material result
05 Creature Rigging and Animation
I worked on the creature’s rigging and body animation in Blender. The skeleton was adjusted to suit the creature’s elongated limbs, tail, and back structure, and motion tests were used to evaluate its poses and overall deformation.
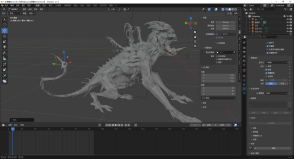
Skeleton and rig setup
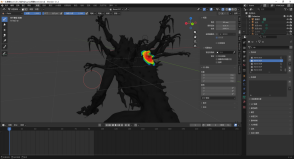
Pose and body animation test
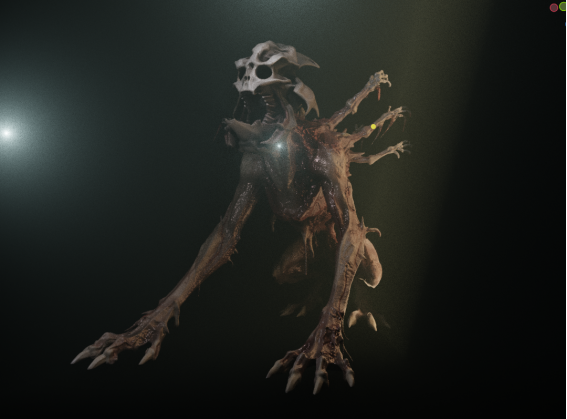
Character result with rig and materials
06 Bus Interior Modeling
I created some assets and used them to build the bus interior in Blender, including the driver’s cockpit, passenger seats and handrails. I then checked the interior layout against the full vehicle model.
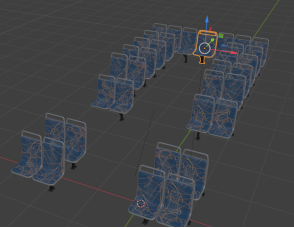
Seat assests and interior layout build
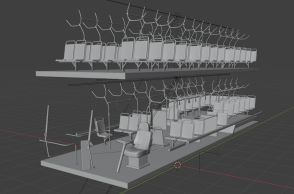
Complete interior structure preview
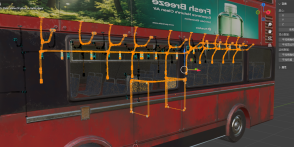
Handrails and interior component detailing
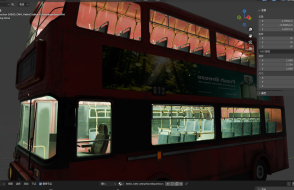
Interior integrated with the bus model
Bus Glass Material
May and I created the bus’s green frosted-glass material. The tinted translucent windows preserve hints of the interior while reducing clarity, giving the bus an unnatural and oppressive appearance that supports the story’s unsettling atmosphere.
Material and Mood References
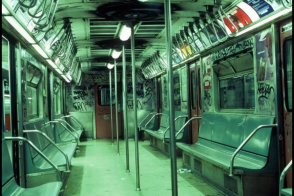
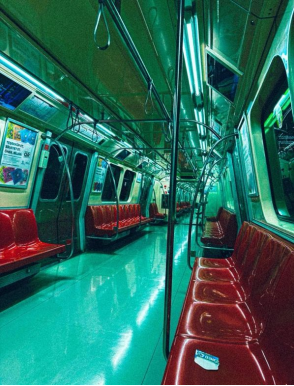
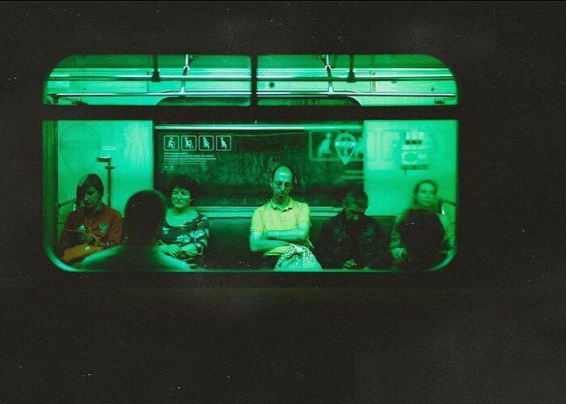
Window figures and green lighting reference
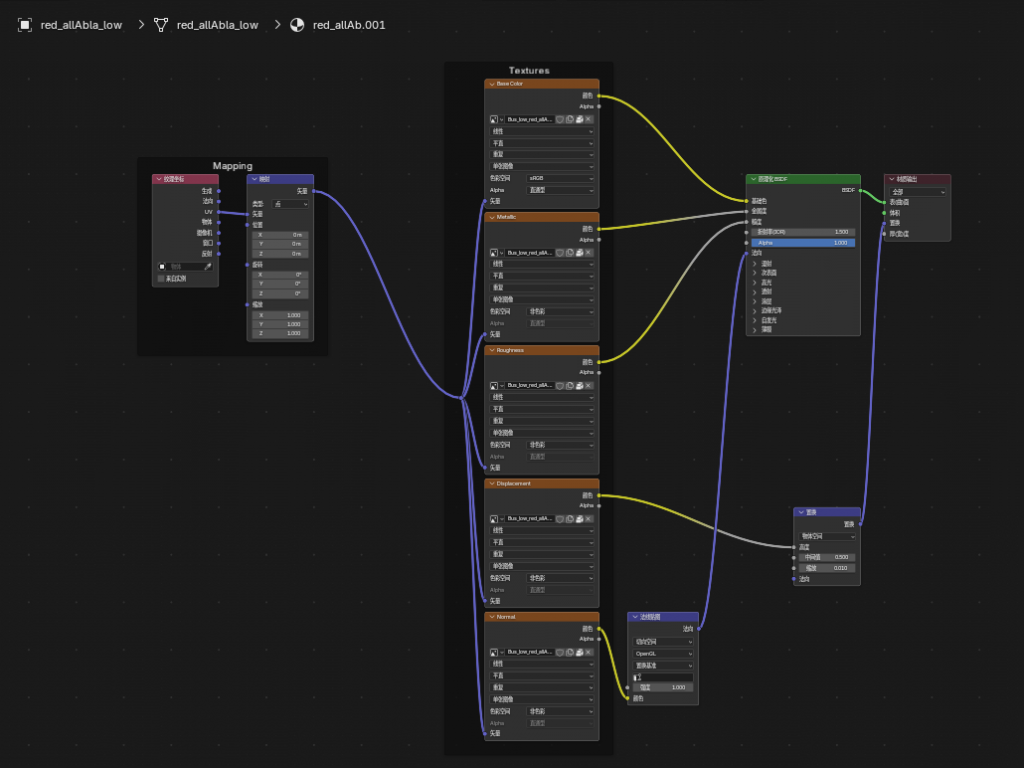
Material Tests and Final Result
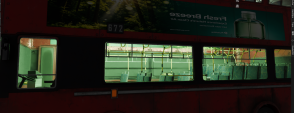
Side window material test
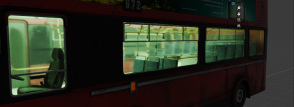
Green frosted-glass look test
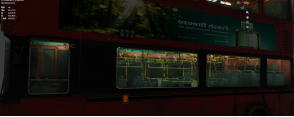
Final side material result
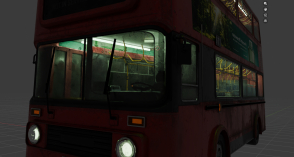
Final overall bus result
Leave a Reply